Geek

WordPress meta-geekery

My brother is running a WordPress blog with multiple authors. “Editors”, in WordPress terminology. He actually needs a content management system like E107 or Drupal, but he knows WordPress and it works for him.

But, he wants static pages, one or more per user, and of course each user should only be able to edit his own pages. Strangely enough, there doesn’t seem to be a WordPress plugin for this. Comments welcome, let me know if there is.

The following fix might work, it eliminates the link to edit pages if you’re not the right user. Of course this is low security.

wp-admin/includes/template.php

case ‘title’:
?>
<td><strong>
<?php
$user=wp_get_current_user();
if (get_the_author_ID() == $user->ID) { ?>

<a class=”row-title” href=”page.php?action=edit&amp;post=<?php the_ID(); ?>” title=”<?php echo attribute_escape(sprintf(__(‘Edit “%s”‘), $title)); ?>”>
<?php } ?>
<?php echo $pad; echo $title ?></a></strong>
<?php if (‘private’ == $page->post_status) _e(‘ &#8212; <strong> Private</strong>’); ?></td>
<?php
break;

<?php
break;

I still need to add an exception so that administrators can edit user pages.

Fun with Excel

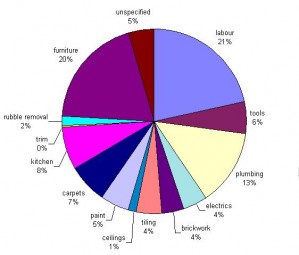
I’ve been keeping track of my expenses, and decided to roughly categorize the spending. The total so far is just shy of R200 000, but it does include furniture which we would have had to buy in any case.

Geek Alert : Some basic jacuzzi mathematics

It takes one kilo-calorie to heat 1 litre of water by 1 degree C. A calorie is 4.184 joules. In science-speak : “The specific heat capacity of water is 1 cal/gram-C or 4.184 Joule/gram-C”.

A Joule is also a Watt-second. Which relates to the well-known kilowatt-hour by a factor of 3 600 000.

In mathematical terms :

Q = mc(DeltaT) : m = mass, c = specific heat capacity, deltaT = amount you want to heat the water (or anything else) by. The important thing is that all the units match, to get Q in Joule you need c in Joule/gram-C.

The optimal jacuzzi temperature seems to be 39C (102F). So if the water is at 15C, deltaC = 24.

And thumbsuck : the typical jacuzzi is around 1000 litres.

Q = 1000 x 4184 x 24 (Note the sly dropping of the decimal from 4.184 — this is because we’re working with litres not grams, a liter of water weighs 1000 grams) = 100416000 Watt-seconds = 27.89 kWh. Which at the current 47.38c/kWh equates to just over R13.

And with a 4kW element, this will take almost 7 hours. Of course this ignores any losses, anything that’s warm wants to cool down, so it will take more energy and time to actually heat the jacuzzi to 39C.

I’m contemplating keeping the thing at say 25 degrees or so, that won’t lose too much heat to ambient and it’s halfway there, energy and time speaking.

Geek Alert : Electrickery

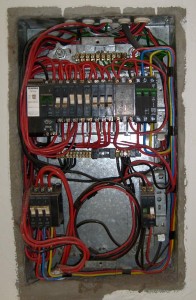
This is the distribution board (DB). The pre-payment meter (bottom left, outside the picture) was wired in later, see the taped wires on the left hand side? The extended wires go down to the meter and then back up to the mains switch at the bottom left.

The red/blue/yellow wires go to the switch at the upper right hand side, and from there to the cable that feeds the garage. That’s the whole point of 3 phase — power to the workshop!
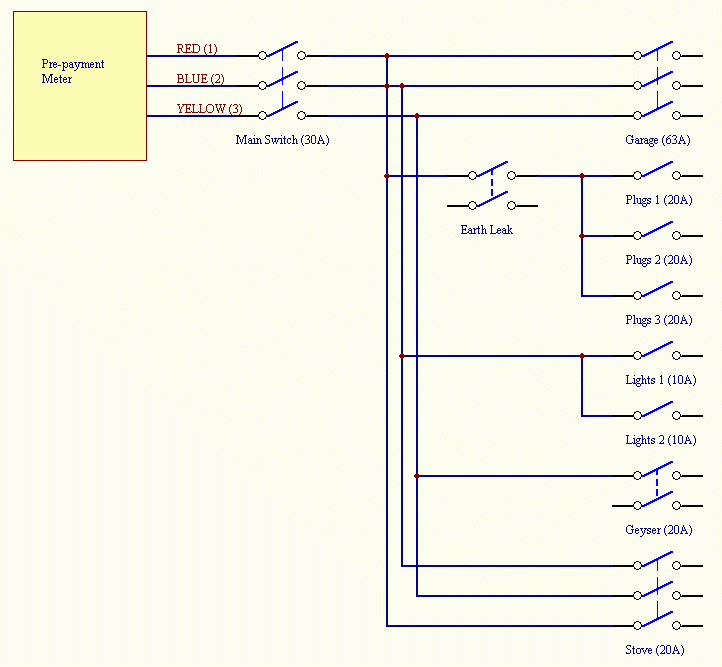
Nicely balanced phases, one phase feeding plugs, one phase feeding lights, and the third phase feeding the geyser.

Only one problem — I much prefer my lights and stove to also be on the earth leak circuit (I got the worst shock of my life unscrewing an Edison screw lightbulb from a metal mounting. The socket was fed via ripcord / flex and obviously the outside of the screw was live. That house still doesn’t have earth leak, but then, I don’t live there any more).

Oh yes, the reason I’m tracing all of this is that I need a circuit for the oven, and two circuits for the jacuzzi (the jacuzzi is wired for a single 40A feed, but I have three 30A circuits only). I have the old stove (3 phase) feed, as well as two plug circuits, the one that used to feed the kitchen, and the one that used to feed the lounge. I’m planning to use the old lounge circuit for the kitchen, and the old kitchen circuit for the fridge and the washing machine / tumble dryer (which will have to live out on the back stoep).

Circuit Current
Oven 14.5A
Dishwasher ~5.5A
Stove (Electric domino) 13A
Geyser 18A
Lights (estimate) 5A
Washing Machine 7A
Tumble Dryer 11A
Jacuzzi Heater 18A
Jacuzzi Pump 6.6A

I played with these values a bit and realised that I’d have to change things around quite a bit to balance the load on the different phases. I also grouped things together logically — we’re unlikely to use the oven and dishwasher at the same time, and even less likely to be in the jacuzzi with the pump on at the same time. So also, the jacuzzi heater can be on the same circuit as the washing machine and tumble dryer, those things are not likely to be used all at the same time… I hope. Comments are of course welcome.

Circuit Red Blue Yellow
Plugs 1 (Bedrooms) 5A
Plugs 2 (Kitchen) 5A
Oven 14.5A
Living Room 5A
Dishwasher ~5.5A
Stove (Electric domino) 13A
Geyser (18A)
Lights 1 (estimate) 2.5A
Lights 2 (estimate) 2.5A
Fridge 5A
Washing Machine 7A
Tumble Dryer 11A
Jacuzzi Heater (18A)
Jacuzzi Pump 6,6A
Total 38A
(20A)
27A 45.5A
(27.5A)

(You’ll notice that the total is not the sum of the column — this is because, for example, the fridge, washing machine and tumble dryer is on one 20A circuit, if it draws more than that the subcircuit will trip).

A total over 30A total is obviously bad, since that would trip the mains. On the other hand, we can learn to not run the jacuzzi heater, the washing machine and the tumble dryer at the same time. The geyser can of course come on at any time, which is why they invented a little black box called a load control relay. I bought a 10A unit — if the stove circuit (stove, jacuzzi pump and dishwasher) draws more than 10A, the relay will make sure the geyser doesn’t come on. If I’m only using one of the stove plates, the stove will draw less than 10A and the geyser will have power.

I might end up fitting a load control relay to the jacuzzi heater circuit as well if things turn out to be a problem.
Assembling kitchen units

I realised that I never posted the details on how the cabinets go together, so this weekend I took some pictures (19 20 thousand words’ worth).

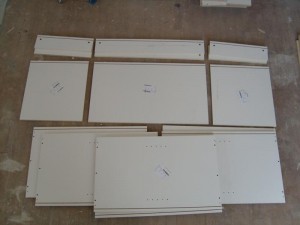
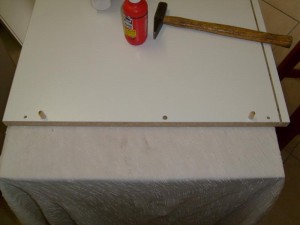
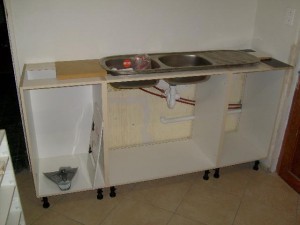
These are the three units which go under the sink (see the floor plan).

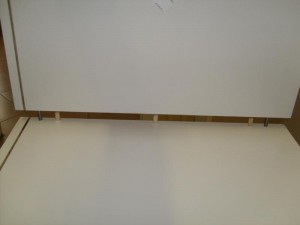
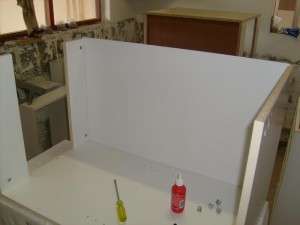
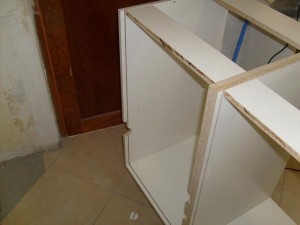
From the top : the two runners which form the top, the bottom, and two sides per unit.

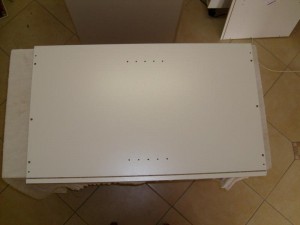
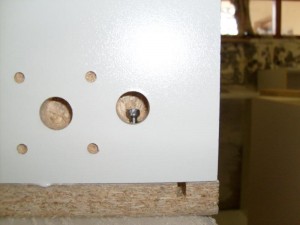
This is the one side. They drilled the centre hole on the left hand side off-center, so I chose that side to be the top (no other choice, really).

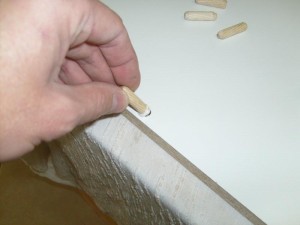
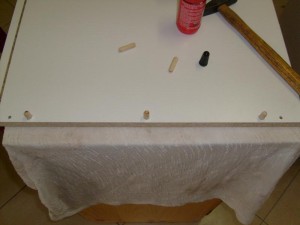
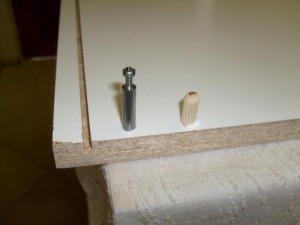
Insert the dowels, three for the bottom end

and two for the top.

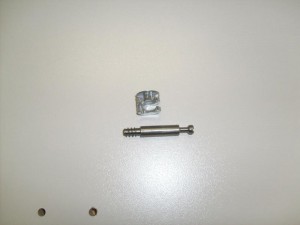
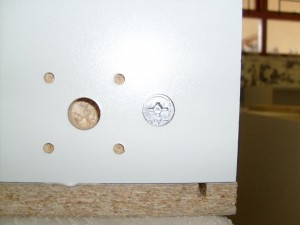
This is the pin and cam that is used to pull the unit together.

Glue, install.

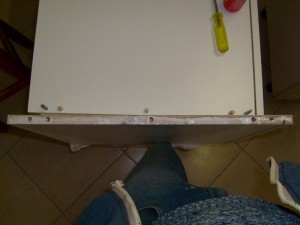
Pin poking through, cam installed, and cam tightened.

Basically the same thing at the top. I learned the hard way that here it’s important to align things, because the single dowel allows for rotation, and then the top edges come out uneven. So hold the corner square while tightening the cam.

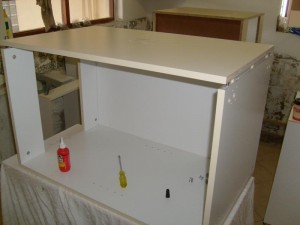
Don’t forget the backing board.

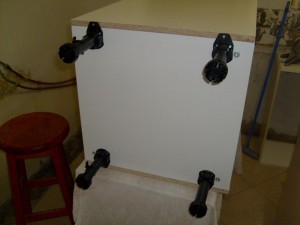
Fit the other side, and the feet.

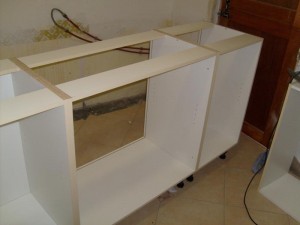
I repeated this exercise three times, laid the three units on their backs on the floor, clamped and aligned the front edges, and screwed the whole thing together, just like Tom Silva shows on this This Old House video.

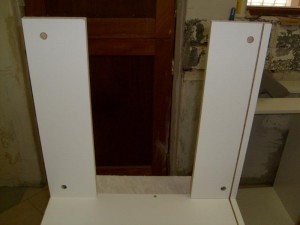
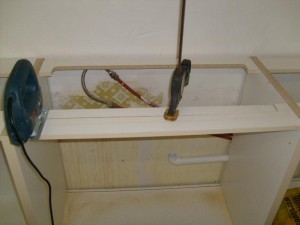
Because of the water and waste pipes, I didn’t fit the backs to the two right-hand units. Which means I had to cut the back bit off the top strips so that I can slide the back in later.

Cutting the hole for the sink. Tip : clamp the bit you’re cutting out so that it doesn’t break and splinter the last bit.

Tanya will have to wear heels to wash dishes — the counter height is 1m.

What the ???

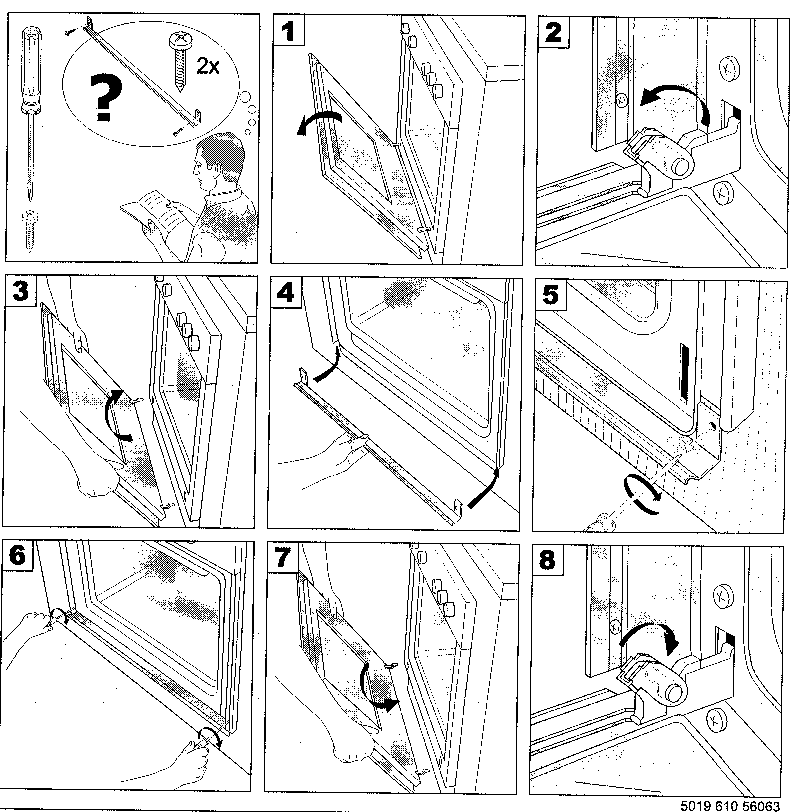
When I unwrapped the oven, I found an L shaped strip of stainless steel taped to the top. Couldn’t figure out what it was for.

So I eventually opened the two packets of hardware that comes with the oven, and found the following instructions :

I read this as “If you’re looking at this bit of metal and you’re wondering WTF?, this is what you need to do”.

Appropriate.

Doing our bit to save the environment.

South Africa is quite a dry country. Hard to believe after the storms that recently hit Cape Town, but our average rainfall is 500mm/year, while the world average is 860mm.

The light blue area in the map is desert. Namaqualand, Richtersveld, Karoo… stunning landscape, but dry.

We are also in the middle of an energy crisis. It seems that our electricity utility and / or government decided that the minimum of maintenance was all that was required to bring the country into the 21st century, so no new power stations were built while the economy and the population boomed.

The greenies suggest hydro-electric, wind and solar power, because they don’t like nuclear. Nothing wrong with hydro-electricity, if you don’t mind pouring your drinking water into the sea (the power you can extract from the water is a function of the mass and the difference in height, so to extract the maximum power the water needs to end up at sea level).

Wind and solar farms don’t seem to work well anywhere in the world, but it does work well on a local, distributed level — especially solar, in the form of solar geysers. Although, with our current low (even after rates increased) cost of electricity, it takes at least five years to break even on the installation cost. Unless you do-it-yourself, which I am planning on doing (Backwoods Home Magazine has some good articles, tips and ideas).

Out-of-the-box way of going solar : hang your clothes on the line instead of using a tumble drier.

Looking at the future, I see three crunches approaching. Two are related — fuel and electricity. With nuclear power stations we can manage the electricity supply, but fuel shortages will force us to change the way we live.

The third crunch is water. We already have periodic shortages, maybe coupled to the 11 year Solar Cycle. With population increasing, we’re going to have to take a serious look at how we use water.

Studies say that 3/4 of the water we use is in the bathroom, with your toilet(s) alone accounting for nearly 1/3. The toilet we’re fitting in the new bathroom is a dual flush unit. These use a lot less water than the traditional toilets, firstly because of a more efficient design (a full flush takes 5 or 6 litres, while the traditional toilets use closer to 18 litres, they tell me — and sticking a brick in the tank does reduce the amount of water per flush, but because the toilet was not designed for it, it also leads to incomplete flushes, so you flush twice, using even more water), and secondly because you can select a “half flush” if there are no floaty bits that need flushing.

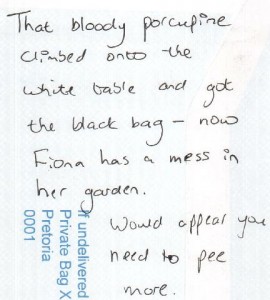
Out-of-the-box way of saving water in the bathroom : if you’re a guy, go outside. This not only saves half a flush of water, it also helps water your plants — two savings for the price of one. Oh, and it might even help keeping porcupines away.