making a plan

3-phase redundancy

So there I was, pottering around home yesterday morning, and suddenly the lights go out. And the bleating of the UPS reaches my ear. Some inspection shows that the fridge is still working, Tamsyn is still happily playing on her computer, and all the trip switches including the big ones in the box outside are happy.

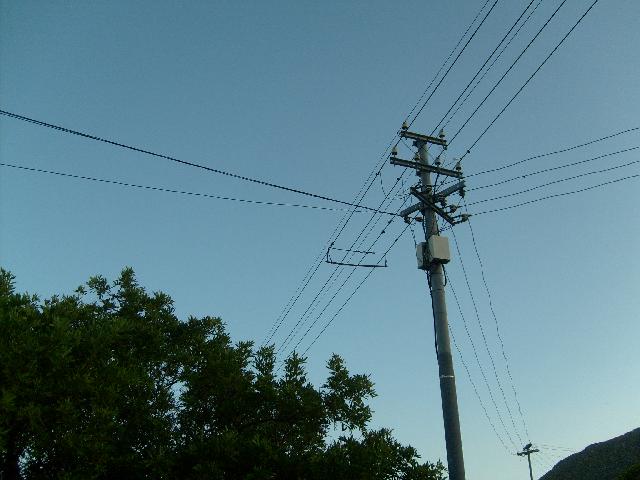
Further inspection shows that we have one phase of the three phase circuit, and even further inspection shows some very dodgy looking wiring on the pole side of the feed.
S6301978r

So Tanya gets instructions to phone council and I bugger off to work.

Long story short, at 1800 it was starting to get dark inside the house, and we still had only the one phase.

S6301979r S6301980r

Battleshort!  I disconnected the two dead phases, and shorted all three phases together on “my” side of the mains breaker (which is the bottom of the bottom left switch in the first picture, but I did it at the input side of the breaker that feeds the garage, just because it was more convenient.

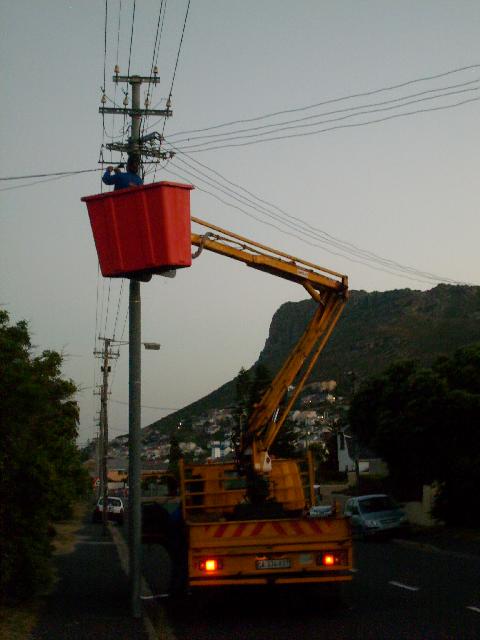
So around quarter past eight, just as I’ve put the bread in the oven [1], the crew pitches.
S6301981r

Of course, they had to cut all power to fix the feed, and when they reconnected the power everything now hanging off the one phase was cold, so that tripped the outside breaker, which lead to the quickest removal of a kludge you can think of (figured I had to remove all evidence of my meddling before they came inside to look why the lights were not burning…)

[1] We had friends over, and I make Pioneer Woman‘s Marlboro Man’s Birthday Dinner (well, the pan fried steak with blue cheese sauce, crash hot potatoes, and buttered rosemary rolls part of it). With store-bought dough in my black pot, Porterhouse steaks from Constantia Pick & Pay, and lemme tellya, that blue cheese sauce is something else.
Some Christmastime DIY

S6301828r

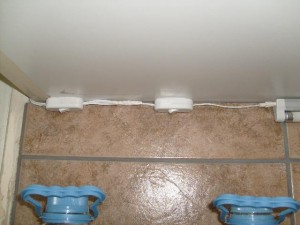
I added two switches, one for the undercounter light, the other for a downlighter I still need to fit. Not the most professional installation, but it’ll work.

S6301868r

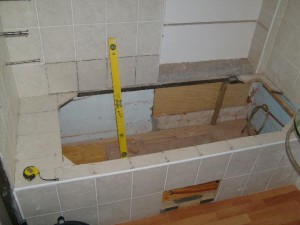
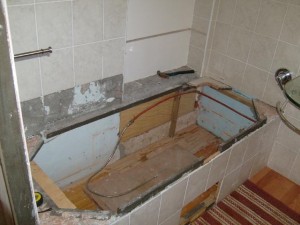
Remember the bathroom we built from scratch back in November 2008? I ripped it all apart again. The bath (a Libra Neptune Euro) was too big for Tanya, so Frank and I fitted a smaller (1700 x 700 as opposed to 1800 x 800) and much cheaper bath.

S6301874r S6301876r
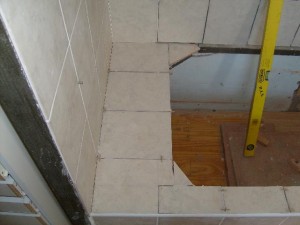
Here’s the redone tiling. Look at the clever gyppo [1] in the corner. The grout line would have been on the edge of the bath, so we made a cut-out in the front tile so that the front edge matches the rear wall.

S6301881r

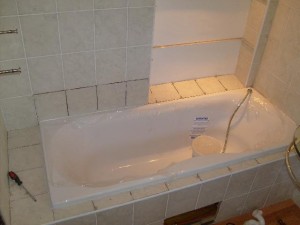
If the front edge looks like it gets narrower towards the right, that’s because… it gets narrower towards the right. The (professional) tiler tiled the rear wall at an angle (I know I built the box square to the rear wall, before the tiling happened) and I opted to square the bath at the back. I’m sure by next week I won’t notice it any longer.

[1] In the sense of “avoiding work”.

Progress Report

No great strides, but I made a little progress here and there.

Before After

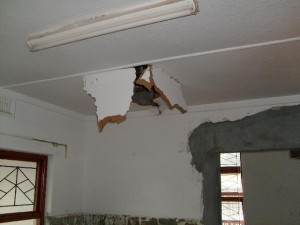
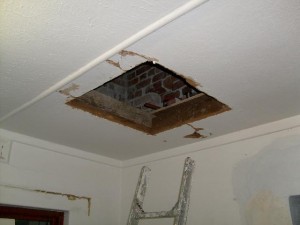
After looks better than before, no? I’ve been meaning to relocate the existing hatch in the hallway, since I want to build a cupboard which would limit access to it. Wasn’t planning on having it in the kitchen, but then Frank slipped up (or down, in this case) and I decided to make the best of the situation. I added a crossmember and a few battons, and took a UPS pallet apart for the plywood which I used to build a platform I can sit on while getting into / out of the roof.

A bit of cretestone and paint and it’ll look OK (and the small hole on the wall side will be above a built-in cupboard, so no worries there.

OK, that’s the one step forward.

I originally thought to hang the new geyser on the outside wall, and started cutting the pipes leading to the old geyser in preparation. Then I bought a 200 liter geyser, and then I realised that 200 liter geysers can’t be wall-hung. And the pipes are of the old style, where the 22mm type is slightly smaller than the new stuff, which means that the solder fittings don’t. Fit, that is. So my attempts at rejoining the pipe were futile.

So I gave up, told Frank to knock another hole in the wall for the water to the geyser.

Now I need a hand full of 22mm 90 degree solder type bends to complete the work. I used two 45 degree bends on the hot side — nobody seems to have 90 degree 22mm bends (I can get plenty 15mm and even 28mm).

And then the outside plumbing starts. Rough estimate — For now I need six 22mm Ts, 4 reducing Ts, 4 22mm bends, 4 reducing bends, more pipe… this is another thousand rands’ worth of stuff, because I’m using poly pipe, so I need compression fittings. Doing it the other way ’round is worse — the fittings are much cheaper, but the pipe clocks in at something like R35/m for the thin walled (less expensive, but doesn’t bend) stuff. This is for the kids’ side of the house only, I still have to figure out where and how the pipes are going to run on our side.

And we bought paint, sticking to standard colours as advised by the chappie at Builder’s Warehouse. He advised us to use a roof paint (Bristol Acrylic Roof Paint) for the fascias, and on-special Dulux Weatherguard for the walls. Tanya picked cream (“Flamenco”) for the walls and red-ish brown (“Burgundy Red”) for the fascias. Bought two x 20l of the Dulux, will probably need that much again.