August 2008

What the ???

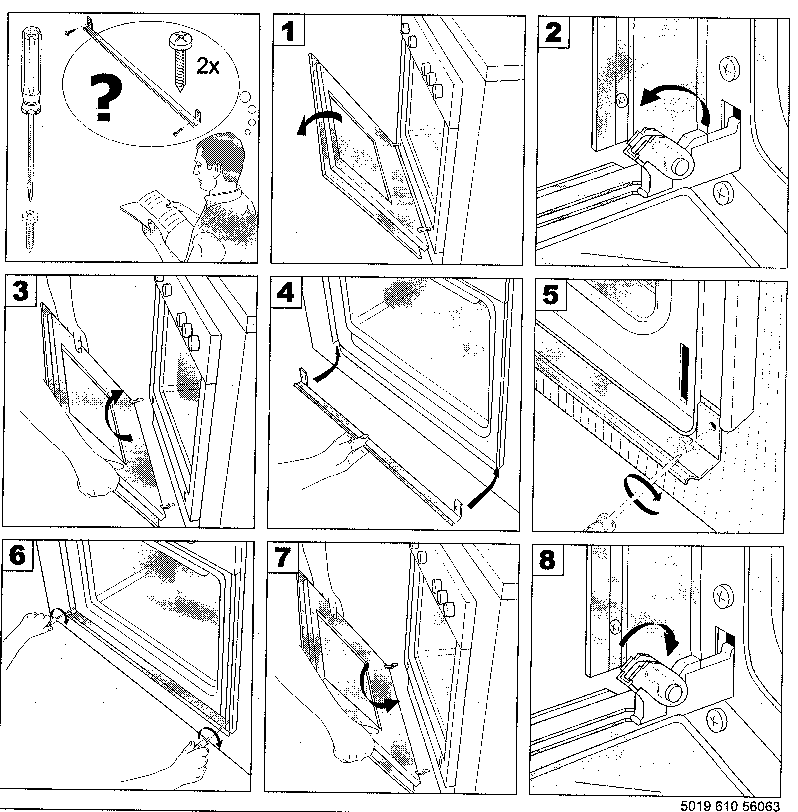
When I unwrapped the oven, I found an L shaped strip of stainless steel taped to the top. Couldn’t figure out what it was for.

So I eventually opened the two packets of hardware that comes with the oven, and found the following instructions :

I read this as “If you’re looking at this bit of metal and you’re wondering WTF?, this is what you need to do”.

Appropriate.

Assembling drawers

The kit from Lansdowne Boards comes with no instructions. I had to figure things out from scratch (OK, so this is not too hard to do. By the fourth drawer I was on a roll. These pics might help you get the drawers right starting with #1).
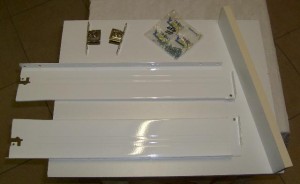
Drawer bottom and back (16mm chipboard), “Metabox” sides, door attachment hardware, and chipboard screws.
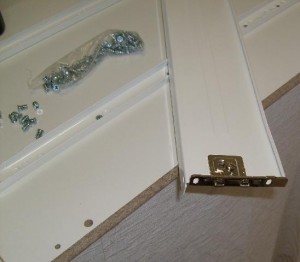
This is how the door is attached to the drawer sides. The two oval screw holes allow for side-to-side adjustment, and the hardware itself allows for a bit of up and down movement using a cam system.
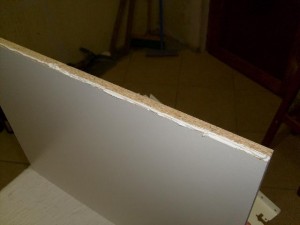
Pick the best side of the drawer bottom and apply a bead of sealant to the long sides (in this pic, the bottom left hand side will form the visible bottom of the drawer).
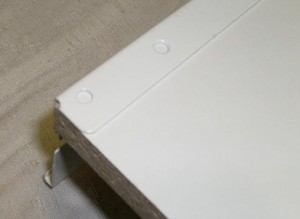
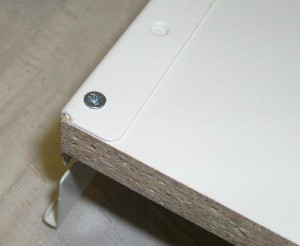
Square up the front of the drawer side with the drawer bottom (In my case this left a bit of an overhang at the rear) and screw it down.
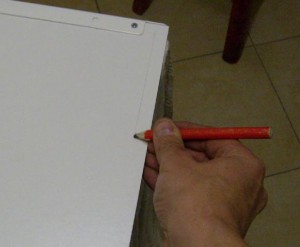
The quick way of lining up screws if you’re not too fussed with the exact dimensions, but you want things lined up.
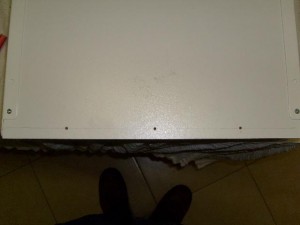
Three pilot holes (my drawer bottom is 39cm, I drilled holes at 8 1/2. 19 1/2 and 30 1/2 cm.
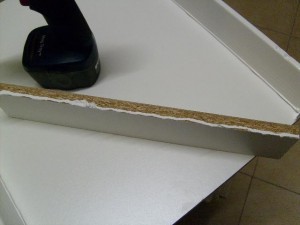
Choose the best side of the back strip and apply sealant to the front three edges.
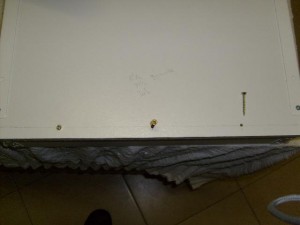
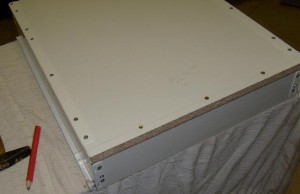
And screw things down (screws are cheap, so I fit them all).
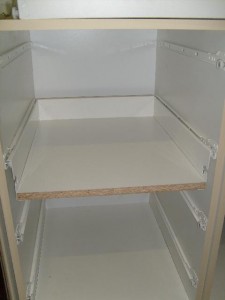
Drawer installed.
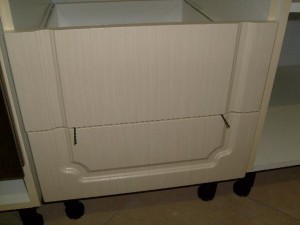
I estimated that I needed a 3mm gap between drawers, so I used two 3mm twist drills (“drill bits”, although some people hate the term, like others hate the term “bullet head”) for spacing.
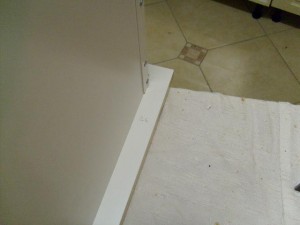
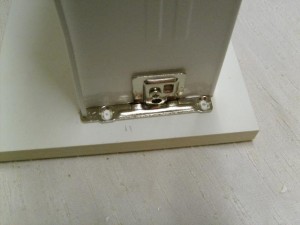
In the end, it turned out that all four drawers were fine with a 26mm spacing. I also lined the sides up, marked the centre of the holes.
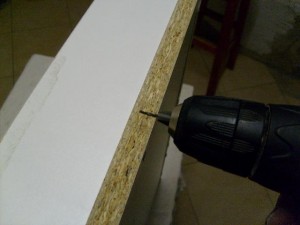
I don’t really want to drill right through the drawer door, so I adjusted the depth carefully.
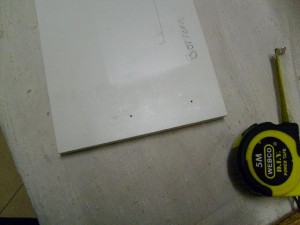
Pilot and screw down.
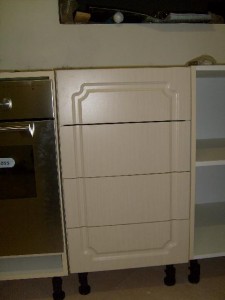
Before adjustment.
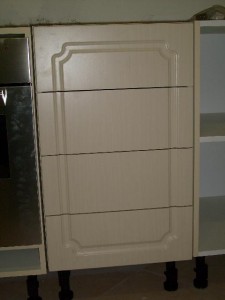
After adjustment. I would probably have to re-adjust once the drawer unit is squared up and fixed to the wall.
Friday night progress.


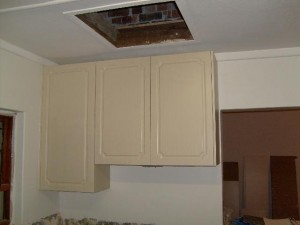
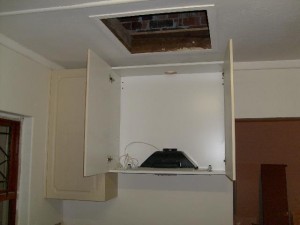
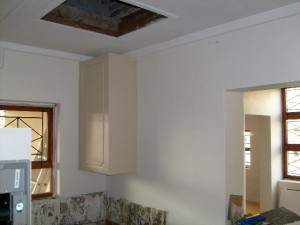
On Friday morning I jigsawed the hole into the bottom of the cabinet and sealed / screwed the extractor fan into place. On Friday evening I hung the cupboard and fitted the side panel and doors. The hole for the extractor pipe almost exactly lines up with the smaller hole Frank put in the ceiling when he fell through.

Of course this means yet another hole in the outside wall, for the extractor pipe (I’m using 120mm sewerage pipe, I have two thirds of a length left over).

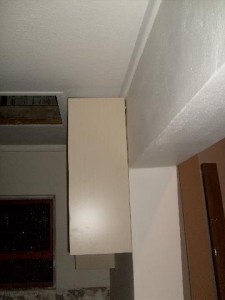
I hid the front two screws for the side panel under the door hinges, and I used the bottom adjustable shelf holes for the two back screws, which means the shelves can’t go at their lowest setting (actually, once the glue has dried, I can remove the two screws at the back, the panel won’t go anywhere).

The wall is… not so straight. But that’s a reality that one has to deal with. This house is actually more square than most.

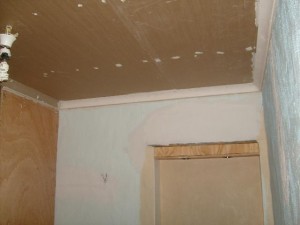
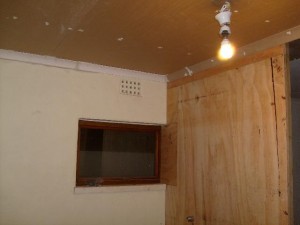
Frank fitted a ceiling to our bathroom. He also fixed the cornices — this is nice, but premature. One should actually tile first, I think.

I’ll have to get a professional tiler to tile our bathroom, Frank’s not that good, and this bathroom must be… nice :-)

When I got home on Friday, the power had tripped. Asked Frank about this, he thinks he might have put a screw through the wires when fitting the cornices. I’ll have to climb up there to have a look *sigh*.

Augustus lê nog voor.

Historically, August is the month of storms and heavy rain in Cape Town. Any rain or storms in June or July is traditionally shrugged off with “August is still coming”.

This year, we had some serious weather in July. If August is indeed worse than July, I shall have to start building an ark.

On the other hand, our lime tree thinks it’s spring (photo using my Samsung S630, which is a handy sub R1k camera. Tanya’s FZ-20 would have done a much better job).

One kitchen cupboard, installed, with side panel and door.

The Lansdowne Boards kit cupboards come with trick pin & cam hardware to hold the thing together without screw heads on the outside. But if you assemble the cupboards like this, with foil panels on the outside, the job would actually be neater without the custom hardware.

Oh, and the eagle-eyed among you will notice four screws in the middle of the panel. Freaked Frank out too. Relax, the next cupboard (visible in bottom left corned, with extractor fan in bottom) will cover those screws. Only the bottom quarter of the panel will be visible.