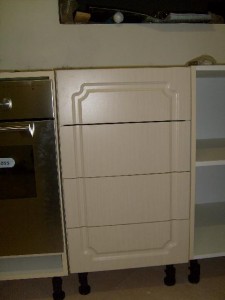
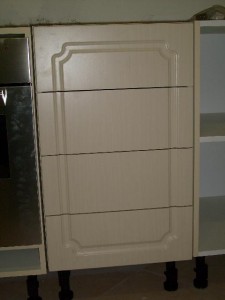
The kit from Lansdowne Boards comes with no instructions. I had to figure things out from scratch (OK, so this is not too hard to do. By the fourth drawer I was on a roll. These pics might help you get the drawers right starting with #1).
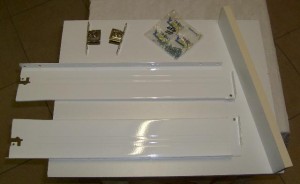
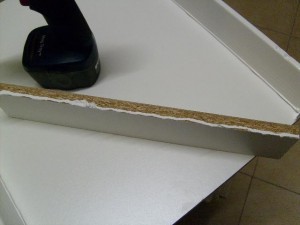
Drawer bottom and back (16mm chipboard), “Metabox” sides, door attachment hardware, and chipboard screws.
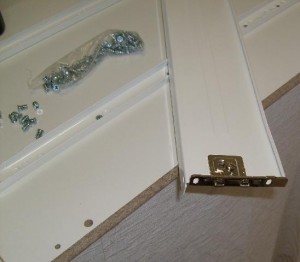
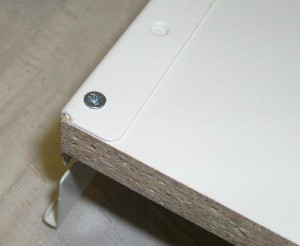
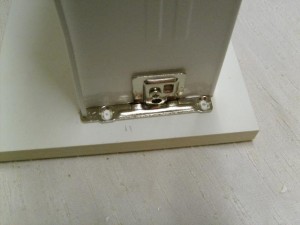
This is how the door is attached to the drawer sides. The two oval screw holes allow for side-to-side adjustment, and the hardware itself allows for a bit of up and down movement using a cam system.
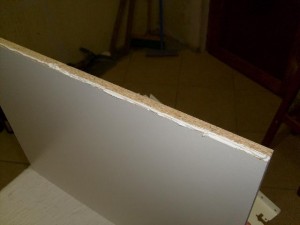
Pick the best side of the drawer bottom and apply a bead of sealant to the long sides (in this pic, the bottom left hand side will form the visible bottom of the drawer).
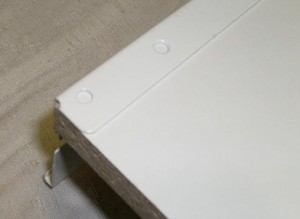
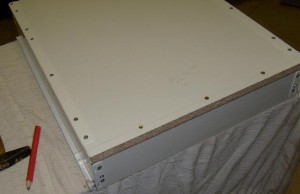
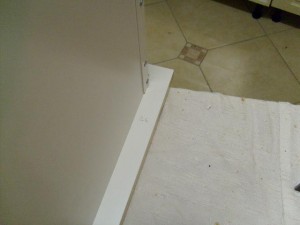
Square up the front of the drawer side with the drawer bottom (In my case this left a bit of an overhang at the rear) and screw it down.
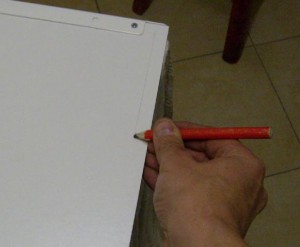
The quick way of lining up screws if you’re not too fussed with the exact dimensions, but you want things lined up.
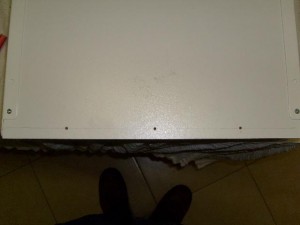
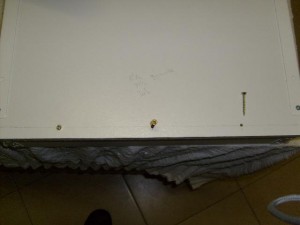
Three pilot holes (my drawer bottom is 39cm, I drilled holes at 8 1/2. 19 1/2 and 30 1/2 cm.
Choose the best side of the back strip and apply sealant to the front three edges.
And screw things down (screws are cheap, so I fit them all).
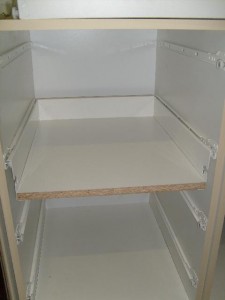
Drawer installed.
I estimated that I needed a 3mm gap between drawers, so I used two 3mm twist drills (“drill bits”, although some people hate the term, like others hate the term “bullet head”) for spacing.
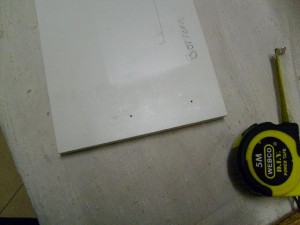
In the end, it turned out that all four drawers were fine with a 26mm spacing. I also lined the sides up, marked the centre of the holes.
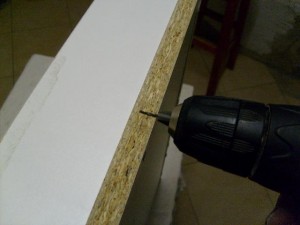
I don’t really want to drill right through the drawer door, so I adjusted the depth carefully.
Pilot and screw down.
Before adjustment.
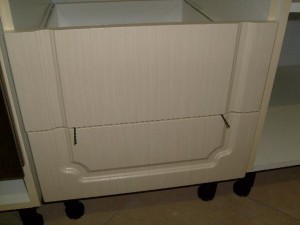
After adjustment. I would probably have to re-adjust once the drawer unit is squared up and fixed to the wall.
