DIY

The next shelf

(There are quite a few shelves still to come.)

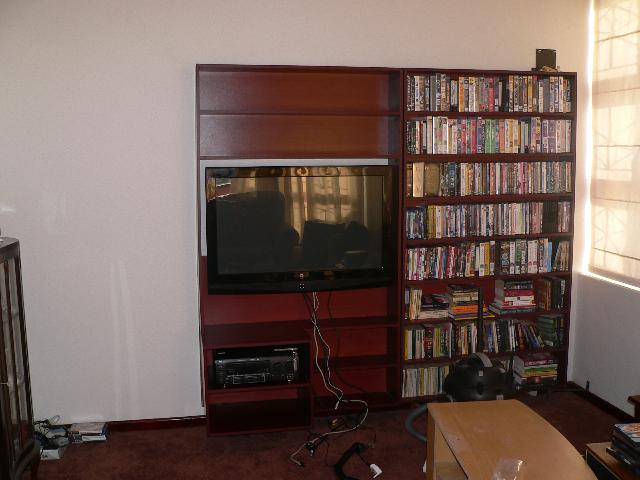
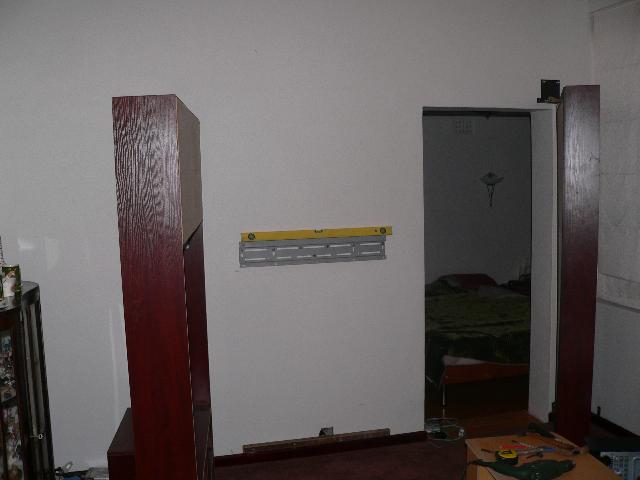
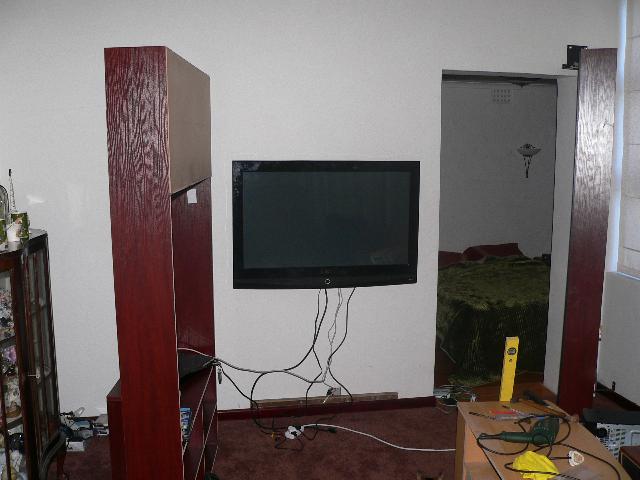
This one goes around the TV. First step, bolt the TV bracket to the wall.

Looking good.

I will have to make a plan with the white wall behind the TV.

The reason I’m doing this in stages is that I wasn’t sure exactly where this unit would end up. It could have been 5cm to the left or the right. Now I can measure the remaining space and design a bookshelf to fit.

Some Christmastime DIY

S6301828r

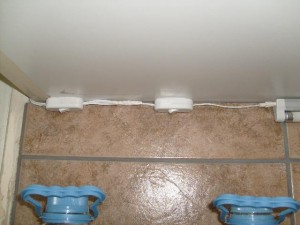
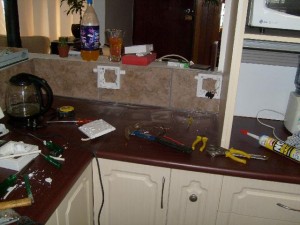
I added two switches, one for the undercounter light, the other for a downlighter I still need to fit. Not the most professional installation, but it’ll work.

S6301868r

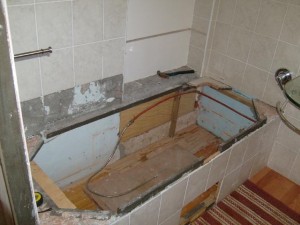
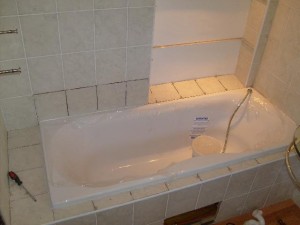
Remember the bathroom we built from scratch back in November 2008? I ripped it all apart again. The bath (a Libra Neptune Euro) was too big for Tanya, so Frank and I fitted a smaller (1700 x 700 as opposed to 1800 x 800) and much cheaper bath.

S6301874r S6301876r
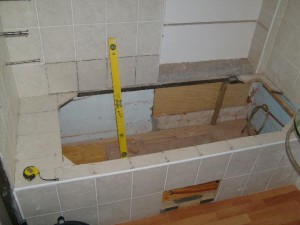
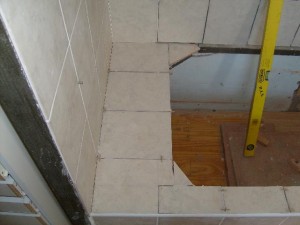
Here’s the redone tiling. Look at the clever gyppo [1] in the corner. The grout line would have been on the edge of the bath, so we made a cut-out in the front tile so that the front edge matches the rear wall.

S6301881r

If the front edge looks like it gets narrower towards the right, that’s because… it gets narrower towards the right. The (professional) tiler tiled the rear wall at an angle (I know I built the box square to the rear wall, before the tiling happened) and I opted to square the bath at the back. I’m sure by next week I won’t notice it any longer.

[1] In the sense of “avoiding work”.

Sunday at home

Last Sunday I decided that I had to get my lazy bum in gear and finish the kitchen wiring.

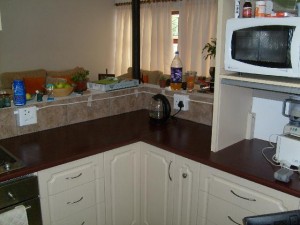
Before and after. I built a 3 way multiplug into the appliance garage so we can leave the stuff plugged in, just pull it out to use it.

The plugpoint on the left is special. I originally bought it to use it in the bathroom, because hair dryers etc often have two pin plugs. But Tanya’s hair dryer has the “euro” connector that doesn’t fit into that socket. So I swapped a single socket into the bathroom and put this one here so that I can plug the wall-wart to charge the bamix.

All of this took longer than expected, and since I had been monopolising the kitchen the munchkins were hungry.

So Tamsyn made french toast. Using three eggs per person, so we had scrambled egg afterwards :-)

And we started a batch of ice cream but that will be the subject of another post.

Supper was my stoo on the left and vegetarian parsnip stew on the right. Both were great.

Happy Anniversary

Today, a year ago, we took possession of the house. It’s been… a journey. A long one, and we’re still on it.

Maybe it’s time for the long awaited kitchen sink backsplash post. Frank finished the tiling and grouting last Friday, but I’ve been somewhat busy, so blogging had to wait.
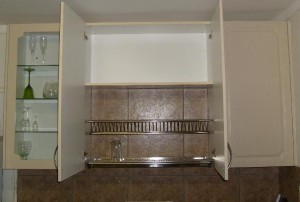
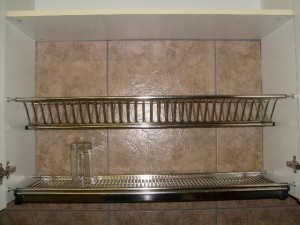
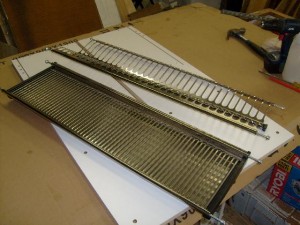
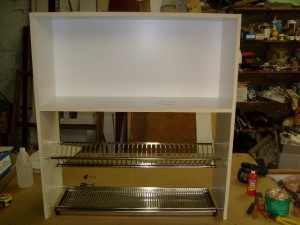
Drip tray hardware from A&D Distributors in Maitland.

We invited some people over on Saturday evening, so the rush was on to finish the bathroom shelves (only way I get things done, invite people over :-)
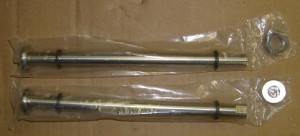
These rods are also from A&D…
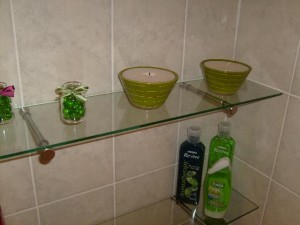
..and this is what they look like installed. Since this particular wall consists of tile over shutterboard, I just drilled a hole and used a 6mm bolt from the other side to hold the rod to the wall.
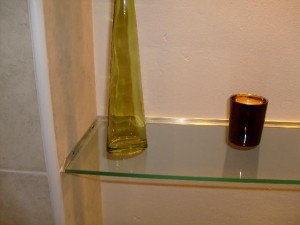
For the shelf on the other side, I used two lengths of 12mm aliminium angle, cut and filed and drilled. This is where I noticed that the whole thing is completely out of square, the tiler could have done a lot better.
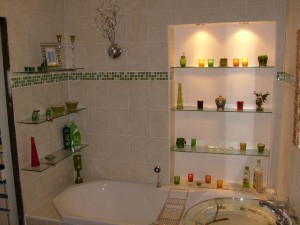
I still have to change the bath… *sigh* but it’ll be nice when it’s done. And Tanya wants “her” light on the same circuit as the downlighters, there’s a DB in the ceiling, I just have to get up there…

I would have liked to go and see the Kontiki rafts, but driving to the Fruit & Veg in Bellville to buy snack-ey party stuff, and putting up the shelves, took my whole day. OK, I also spent an hour at the range early on Saturday but that doesn’t count :-) Found a pretty good 7mm TC/U cast bullet load. Subject of another posting, maybe.
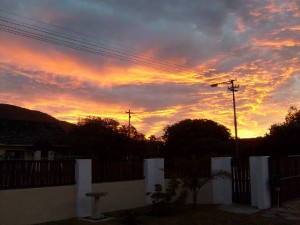
Monday evening sunset, straight off the camera, no Photoshoppery.
Drip tray over sink, part 2

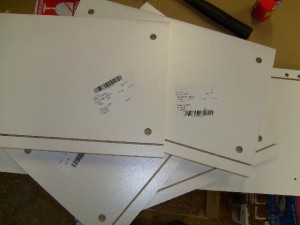
These are the top and bottom sides for the wall units from Lansdowne Boards. No mistakes or inconsistencies here (for once), this is how they do it.

Of course, if they put the slot for the backing board on the other side, the holes for the cam system would end up on the outside of the unit. Which won’t be visible. In this design, the cams end up inside the unit, which is visible.

Doesn’t look too bad though.

I still havn’t figured out how to avoid holes in the backing board. Using their hanging system, one ends up with two holes in each upper corner, and two holes across the bottom. Using what I did here, I ended up with four holes. I guess bodyputty and paint is a solution…

Drip tray above kitchen sink

The drip tray hardware comes from A&D Distributors in Maitland. It comes with instructions, but I decided to ignore their recommended dimensions in favour of centering the (222mm deep) drip tray in the (300mm) deep cupboard unit.

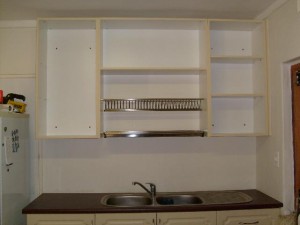
I want the backsplash to extend up behind the drip tray, so I sat with Julian and designed a unit with a cupboard at the top and a backless bottomless area at the bottom.

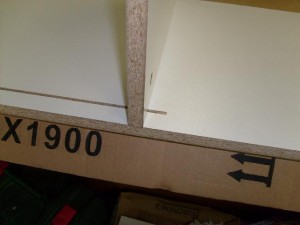
I also realised that this would happen, and told Julian how I wanted it done. (Because of the curve of the saw blade, getting the slot for the backing board deep enough on the top (left in the picture) of the shelf means that the cut extends. I was quite prepared to have the cut stop above the shelf, I would then route the last bit by hand).

But as we say in Afrikaans, “‘n Halwe begrip het ‘n goeie woord nodig.” In the case of these guys, I think the good explanation has to be punctuated with a baseball bat for things to sink in, though.

Looking good…

Dealing With Idiots, part five thousand and … something.

So I ordered the last of the kitchen cabinets from Lansdowne Boards. These took a while because we were still deciding what we wanted to do, and I had to wrap my head around the drip tray that I got from A&D distributors.

Collected the stuff last Wednesday. Found that they had only supplied two of the three units (but all four doors). No wonder they gave me a large, unexpected off-cut — that was of course supposed to be the third unit.

Returned the offcut to them for making into unit #3.

That was last week.

Over the weekend I found that the double doors for the Colossal Cupboard were too small. The formula is : door width = cupboard width divided by two, less 4mm. Taking the 1mm edging into account, that means the wood for a door for a 750mm wide cupboard should be 369mm. The drawing shows 369mm, the cut list shows 369mm, but the measuring tape shows… 365mm. This creates a rather unsightly gap between the two doors, of course.

Took that back on Monday, nicely asked the fellow to have my kitchen unit ready by Wednesday.

Wednesday came around, I phoned. Nosir, maybe by Friday.

Are they nuts? I ordered this stuff weeks ago. They stuffed up. All they need to do is to quickly cut and edge a unit, one unit, and that will keep the customer happy. So what do they do? Sweet Fanny Adams.

And they’re still sitting on the replacement shelves for the one bookshelf where they got the holes skew. Something to do with them having to buy the chipboard for the replacement unit, which of course they are loathe to do. I suspect they can just massage the replacement white units out of someone else’s order, but few people order mahogany…

*spit*

/me goes back to listening to Lily Allen with a vengeance.

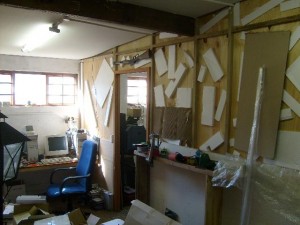
Wouter’s room

We started with a three-bedroom house. A three-bedroom house with a single garage converted to an activity room, and a huge free-standing triple+ garage.

Somewhere along the way we decided to make the activity room into our main bedroom. The smallest of the three bedrooms would then become Tanya’s scrapbooking room. Which of course relegated Yours Truly to the huge free-standing triple+ garage.

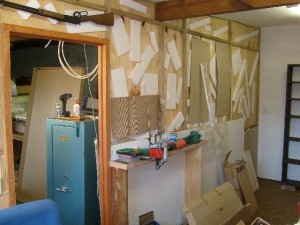
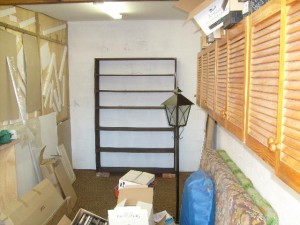
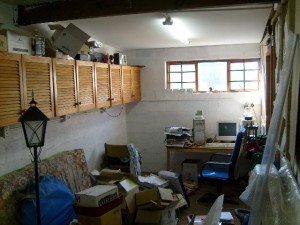
I built a batten-and-shutterboard wall across the back portion of the garage, put down some of the carpets we took out of the main house, and put up the kitchen cupboards we took out.

Also had Frank put in a ceiling, with insulation, but it still gets very hot in there. Anyway, it’s starting to look good.

Now all I need is a bed and a fridge and Tanya will never see me :-)

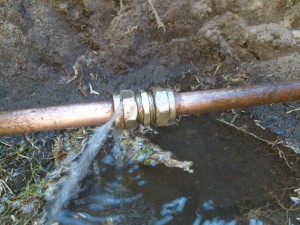
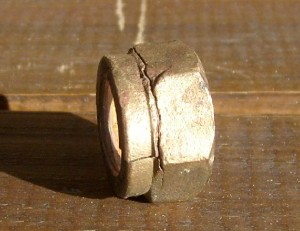
Found the problem

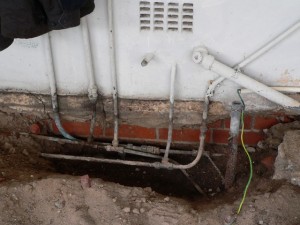
This leak must have been there for… months… years… a long time. Strange that the previous owners never noticed. Or maybe they thought that paying the R150 extra a month was cheaper than getting someone in to fix the problem.

Doing our bit to save the environment, part 2

Our water bill has been high every month since we got the house. I attributed it to the building and other work going on, but now that we’re settled in, it became clear that Something Is Not Right.

Specifically, we’re using about 40 thousand litres a month. That’s about 10 thousand US gallons.

So I thought I should make a daily note of the water meter reading, to see what’s happening (Many councils have a habit of estimating usage based on one month’s consumption, for months on end). Immediately noticed that the wheel is turning, even though I knew there was no water running anywhere in the house.

Closing the stop cocks available to me, I figure it must be a leak in the plumbing I didn’t replace. The water mains enters the property through a stop cock, from there (I think) it goes to two outside taps, and then to the junction which feeds the geyser (via a stopcock), the prep bowl and the toilets.

This is the junction, below all the other stuff I ripped out (picture from April 2008, when I just started). It feeds the geyser (thick pipe going left and bending up) and the toilets and prep bowl (the other side of the T junction). All the other cold water taps are fed from the geyser side of the pressure regulator, so that the hot & cold water pressures are the same, so that mixer taps work right. And taking the geyser offline doesn’t stop the meter.

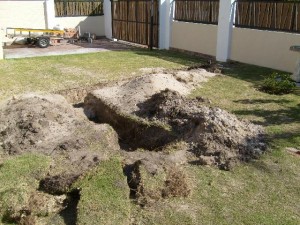
So, the leak is either under the front lawn, at the junction, or under the house. I’m guessing the latter. Tomorrow it’s Frank and a spade, that’s the only way to find out.